Can I just say that I was beyond excited to be featured on Tatertots & Jello this weekend. So HUGE! If you’re stopping by from TT & J, welcome and please stick around!
Get ready folks, there’s a lot of pictures to explain this one. I asked my husband Nate to help me out since he did the majority of the building. My job for this project was the design, painting, and building the cushion and headboard, plus I do all the “get me this tool or hold this in place” work. I’m the Al Borland to his Tim Taylor.
Once I decided I wanted a banquette, I scoured Pinterest for inspiration and was not disappointed. I created a really amateur mood board to convey my vision to Nate. This was almost a year before I started blogging so I find it hilarious that I did one just because I felt like it.
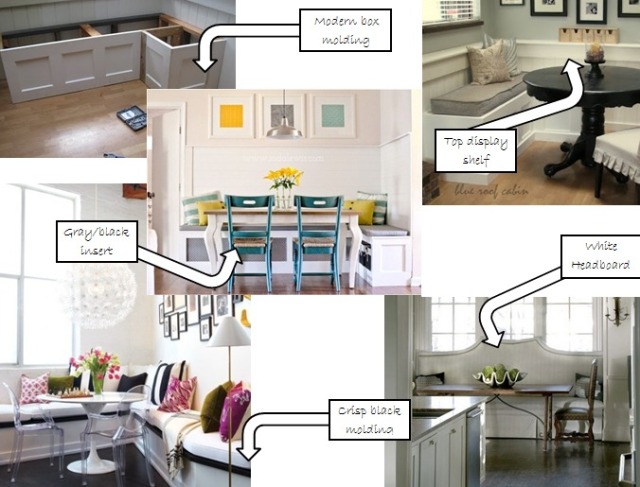
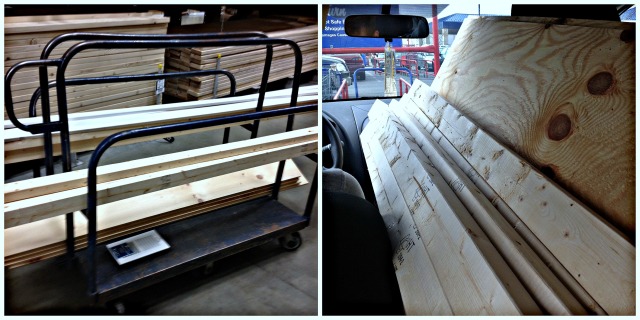
Once I showed him that, he seemed excited about it. From there, I drew a sketch of all the elements I liked, while keeping it as manageable as possible, and we were off! We made a trip to Lowe’s to purchase our supplies. Here’s what we came home with:
DIY Banquette Supply List:
Power sander
2 x 3s for the frame
Two 1 x 10s for the bench
1 x 3s to attach the headboard and for the trim
Metal brackets + Nuts and bolts to attach headboards
1 finish veneer plywood
2 sheets of plywood for the headboards + leftovers for the bench upholstery
3. 5 inch wood screws
While at Lowe’s we had them cut the plywood and veneer down to some basic measurements so we could fit in the car. Lowe’s will cut your wood for free!
Supplies we already had on hand:
Air compressor and brad nail gun
Screw driver
Hitachi Miter saw
Tape measure
White paint
Caulk
Paint supplies
Craftsman circular saw
Don’t hate me but I didn’t include exact numbers of supplies or measurements. 1. We did this project before I started blogging and 2. We made so many trips for extra supplies that it was hard to keep track. I thought no one would need the exact measurements we used because we fit it to our own kitchen anyways. If you have any specific questions, leave them in the comments and hopefully I can answer them.
Nate began by building the frame. First he built the long frame closest to the wall (A), then attached the horizontal boards on the top and bottom using a brad nail gun to hold the boards in place (B). He went back and reinforced the boards by using the power drill with 3.5 inch wood screws. From there he built section C which was the long frame closest to the rest of the kitchen and attached with brad nails and screws.
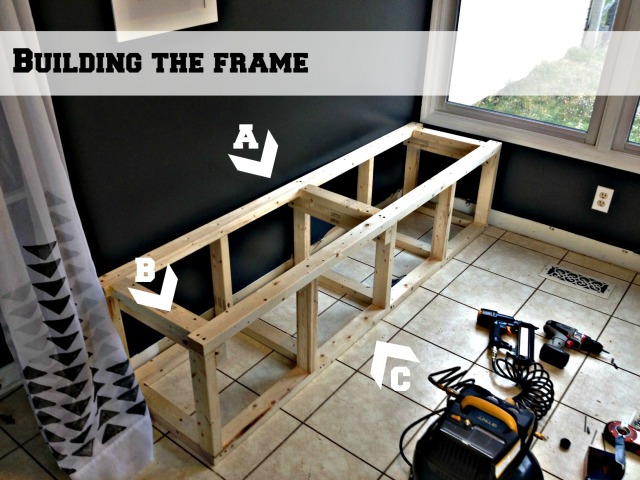
Nate repeated the same process to make a second bench. This bench is slightly smaller because we custom fitted it to the space we had.
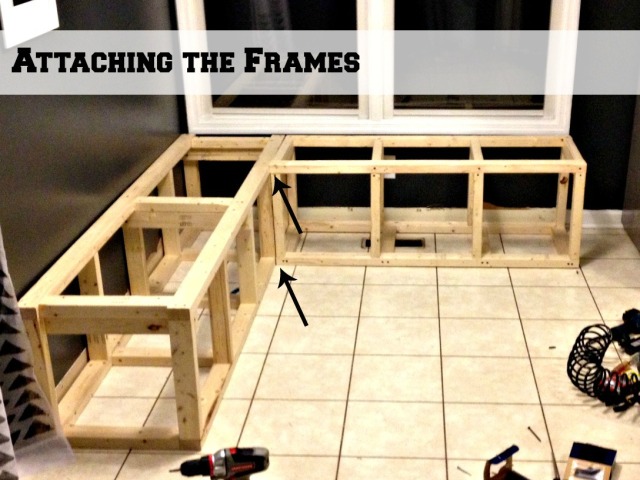
Once Nate built both frames, he attached them together using wood screws.
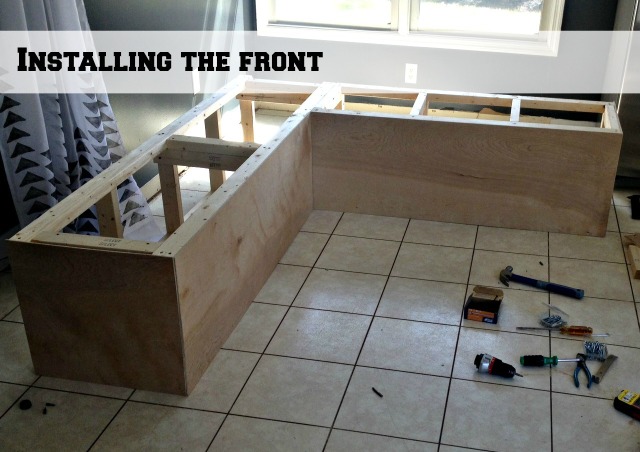
Next, he cut the finish board to size using a circular saw. He attached those with just brad nails since the wood is so thin. We only finished the front since you’ll never see the back. Why do extra work for no reason?
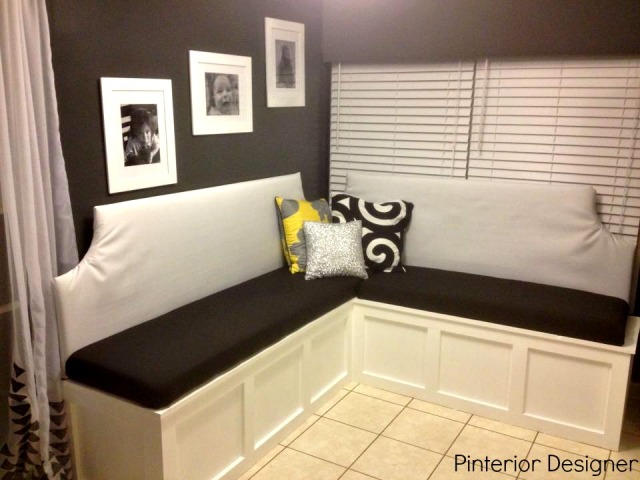
Add the 1 x 3 trim to front using the nail gun. Nate did the border first followed by the vertical pieces. He cut them to fit using a miter saw. He made the measurements so exact he had to hammer them into place which made the trim look seamless.
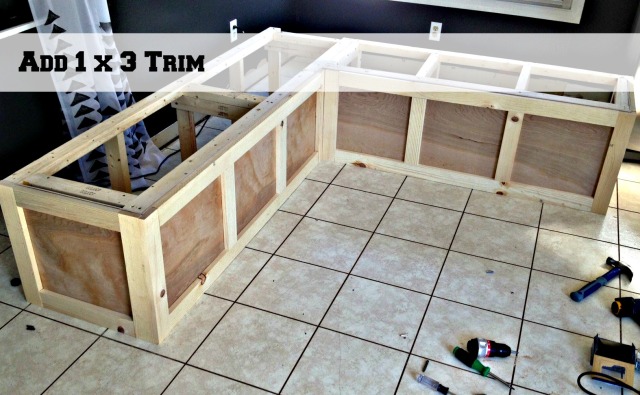
To decide where to put the vertical trim, he measured the length and divided by three. The spaces between vertical trim is actually different from the left bench to the right bench but we figured no one would notice (we were right). We thought it would look odd if we kept the measurements the same and were left with one really small square.
Nate attached the headboard using two different methods. For the left headboard, he used metal brackets from Lowe’s. They were thin and allowed the bench to sit flush against the wall. To do this, he drilled a hole in the headboard before I upholstered it. He used a nut to hold the bolt in place until we were ready to install. Then when we were ready to attach it, we took the nut off, and put it through the metal bracket, and secured it with the nut. We did this in three different spots. For the bench by the window, Nate screwed 1 x 3s to the frame from the very bottom to just below the top of the headboard. We weren’t worried about it being flush against the wall so we went this route. We also didn’t want anyone accidentally leaning too hard against the headboard into the window which is why we wanted support all the way up.
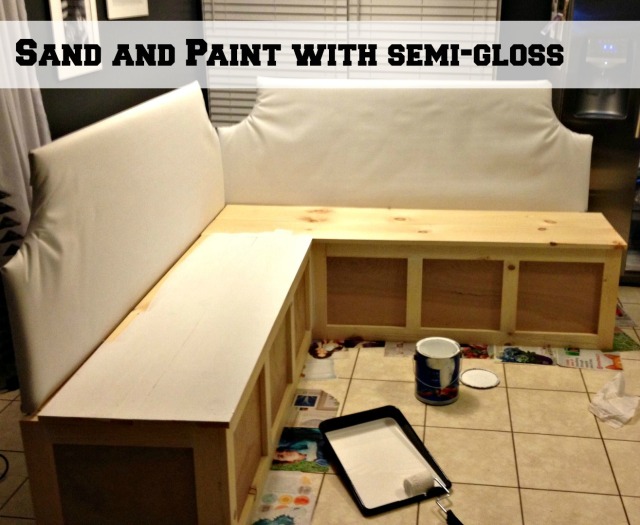
The top seat is two 1 x 10 boards Nate screwed in with the 3.5 inch wood screws. After adding the trim and bench, he sanded them both using a power sander. Once Nate sanded them, I went back with white adhesive caulk and caulked all of the seams. I spackled over any of the screws that were visible. It took two coats of Valspar Ultra White to cover the entire banquette. I had some left over from other projects but if you had to go out and buy paint for this, you would only need a quart. I wish I would have painted before we attached the headboard because I was a nervous wreck trying not to get the paint on the headboard. I did.
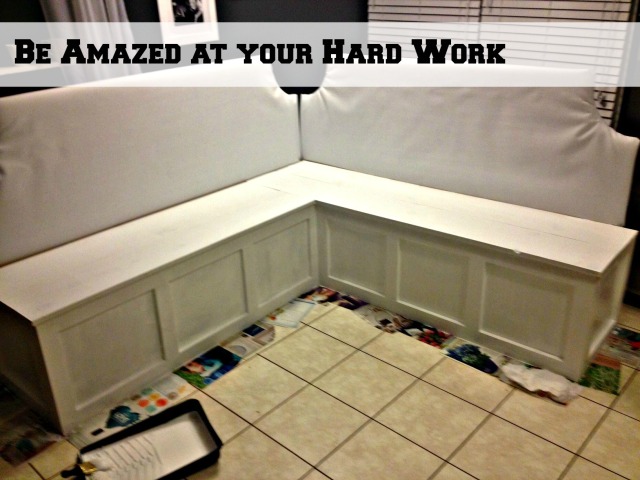
I’ll post directions for the bench and headboard later this week, but this post was already direction heavy so we’ll just call it a day. One mistake I made was in the measuring. Surprised? I decided how high the bench should be based on our old kitchen chairs. I didn’t take into account the boards on top, the plywood I used for the bench, the batting, or three inches of foam. The benches are a little on the high side because of my measuring mistake but we’re still happy with the overall result.

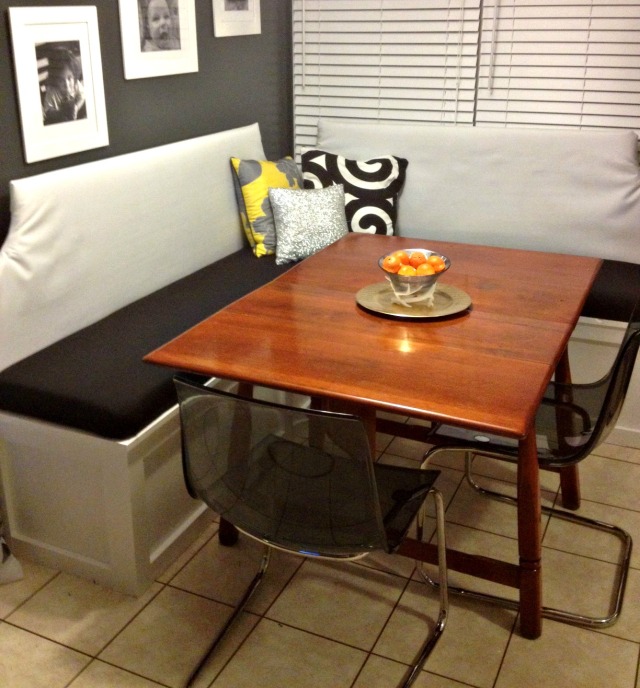
The project came in at around $250. We’ve had the banquette for over half a year now and we love it. Nate and I entertain often so we’ll push the table out further into the kitchen so a bunch of people can hang out on the benches while they snack. We finished the whole project in one weekend and we could have had it done faster, but this was one of our first really big building projects so there was a huge learning curve. I had a broken staple gun which made the upholstery next to impossible and Nate wished he would have broken down and bought the finish nail gun we decided to put back when we were at Lowe’s because it would have added $100 to our bill. I bought the wrong amount of fabric and had to go back to Joann’s 4 different times + a trip to AC Moore. We also made 2 extra trips to Lowe’s. It was really frustrating but we’re slowly learning to expect every project takes way longer, costs way more, and is way harder than we imagine. In the end, it’s always worth it. We have an original piece that fits perfectly in our space and the design of our home.
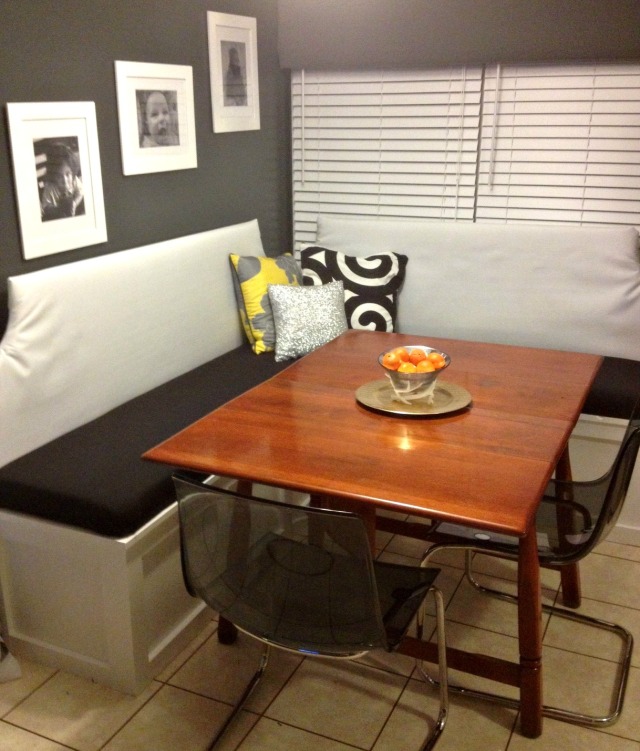 Ikea Chairs, Table is a family piece (which we are hoping to replace because it’s not big enough and we need a center pedestal so you can slide down the bench without hitting your legs on the center legs).
For your viewing pleasure…
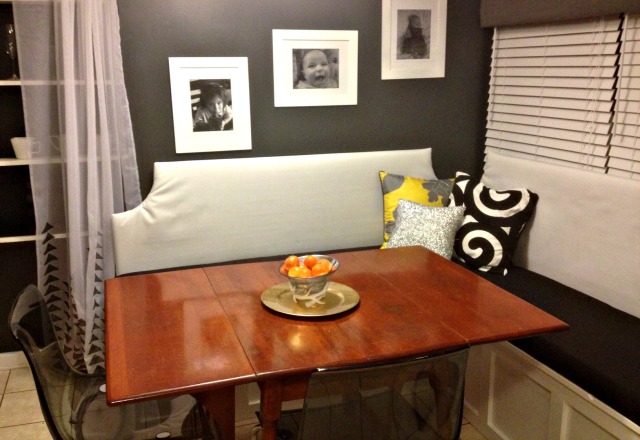
Have you ever taken on any crazy building projects? How did it turn out? Or maybe you want to but are too nervous you’ll mess up. In that case…go for it! I can assure you, you WILL mess up. No need to worry about that anymore. It’s totally worth it though because you’ll end up with an awesome piece of furniture that’s all your own. And you can tell everyone who comes to your house you designed and built it. Not that we’re bragging or anything…
P.S. I’m sharing this post at…
Home Stories A to Z
Coastal Charm
Not Just a Housewife
All Things with Purpose
Remodelaholic
DIY Show Off
Six Sisters Stuff
www.remodelaholic.com


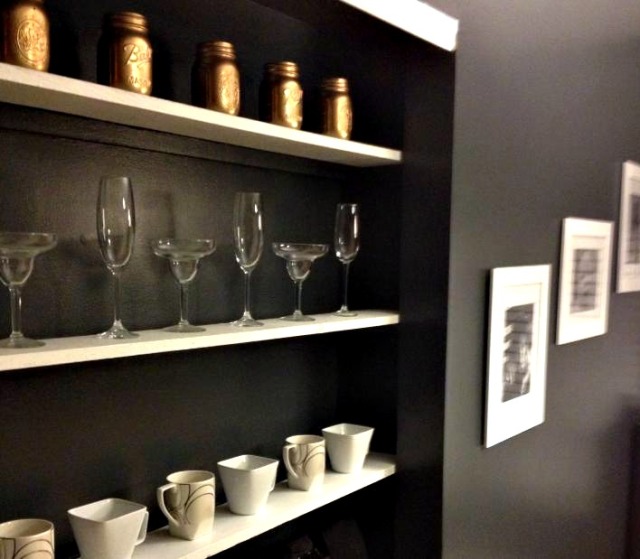 Gold spray painted mason jars from Michael’s.


