Update: I’m giving away a quart of Rust-Oleum Countertop Coating…the same stuff I used on my counters to make such a huge transformation! Go to this link to enter the giveaway: http://pinteriordesigner.com/2013/11/19/giveaway-rust-oleum-countertop-coating/ The giveaway lasts from November 19-26, 2013. Good luck!
So there’s this. THIS is the MLS picture of our kitchen. I guess its ok, but honestly it’s 100% NOT my style. I like modern. Black and white. Sleek finishes. Pops of bright colors. Not whatever this is.


The oak cabinets, oak blinds, outdated light over the table, mismatched appliances, the color, the wood over the sink window, the beige countertops and back splash, the random closet in the kitchen… None of it was working. I do love the size and that it’s open to the living room.
The first thing on the to do list was to paint the cabinets white. My mom and I tackled that the first week we moved in. Spoiler alert- painting cabinets SUCKS! Shortly after, she helped install brushed nickel handles. Nate and I replaced the fridge and dishwasher with stainless steel appliances and are hoping to upgrade the stove and vent in the next year or so.
The kitchen went through this awkward middle phase where it still looked too country for my taste. Exhibit A:
 One week after moving in.
 A few months later.
Eventually, I DIY’d valances out of cardboard and hung black and white 8 x 10s of my nieces and nephew. All good ideas, but the kitchen still wasn’t coming together. Finally, the blog Vintage Revivals inspired me to paint the kitchen a dark grey. So dark it’s basically black. That’s when things started to fall into place.


I LOVED the dark color. It lends itself to the modern feel that I gravitate towards, but it only made my countertops look even more blah. I want to eventually replace them with a marble-esque quartz, but I’m still saving my pennies. I looked into the countertop transformation kits, but they cost a minimum of $150 and there was no way I was spending that much cash on a project that was just supposed to hold me over until I could afford what I really wanted. Luckily, a friend said Lowe’s sold countertop coating, not the entire kit and it cost just $21.99. Sold! Rust-Oleum Countertop Coating have 10 color options and I chose the darkest black. Surprise, surprise.
To coat your countertops, you’ll need:
60 grit sandpaper
A rag
Painters tape and drop cloths
Foam roller and paint tray
Rust-Oleum Countertop Coating
Patience. Lots of it.
Begin by quickly sanding down your countertops with 60 grit sandpaper (and back splash if you for some reason have laminate on your back splash like me. ugh). Use a rag to wipe your countertops down. Next, begin rolling your ugly laminate countertops with the coating. The coating is super thin and will be runny. That’s normal. Using the foam roller makes the finish appear smoother than a roller with a nap. The back of the can said it would only take one coat, but mine was wayyyy too thin and needed two. DO NOT touch up once you finish an area. Walk away from the counters! I repeat: Walk away from the counters! A few times, I would come to a spot I did a few minutes earlier, notice an imperfection and would roll over it. Good news, that made the problem look worse. Since it was starting to dry, the re-roll never smoothed the area out, but made it look bumpy. Resist the urge to touch-up. I waited an hour and then rolled another coat which smoothed out most of the messy spots.
For the back splash, I used leftover white paint and rolled it on with the same foam roller as the countertops after I sanded and wiped them clean. The countertops and back splash need replaced simultaneously since they’re basically connected (yay), so I don’t want to sink a ton of cash into them while we save.
The worst part of this process is that the counters take 3 days for the coating to cure. You can’t put anything on them and you aren’t supposed to even touch it. For someone who doesn’t actually cook, it wasn’t a big deal, but for those of you who do need your kitchen, that could get old quickly. BUT! I think you’ll agree that the wait was totally worth it…

 Pros:
Pros:
Cheap! $22 well spent.
It only took me an afternoon to complete the entire project (I did have help though)
Totally updates the look of the kitchen
I’ve had them since July and they’ve held up well. Food and liquids wipe right up!
Cons:
The 3 days the counters took to cure tested my patience.
Little things stuck in the counters as they dried and I had to carefully pick them out, like my golden retriever’s hair. Thanks Sam.
There are a few spots from my crock pot that left a mark. I guess the heat affected it? The marks are small though so I’m probably the only person who would notice.
Would you ever coat your countertops? Have you tried any quick fixes to hold you over while you saved for what you really wanted? Share in the comments!
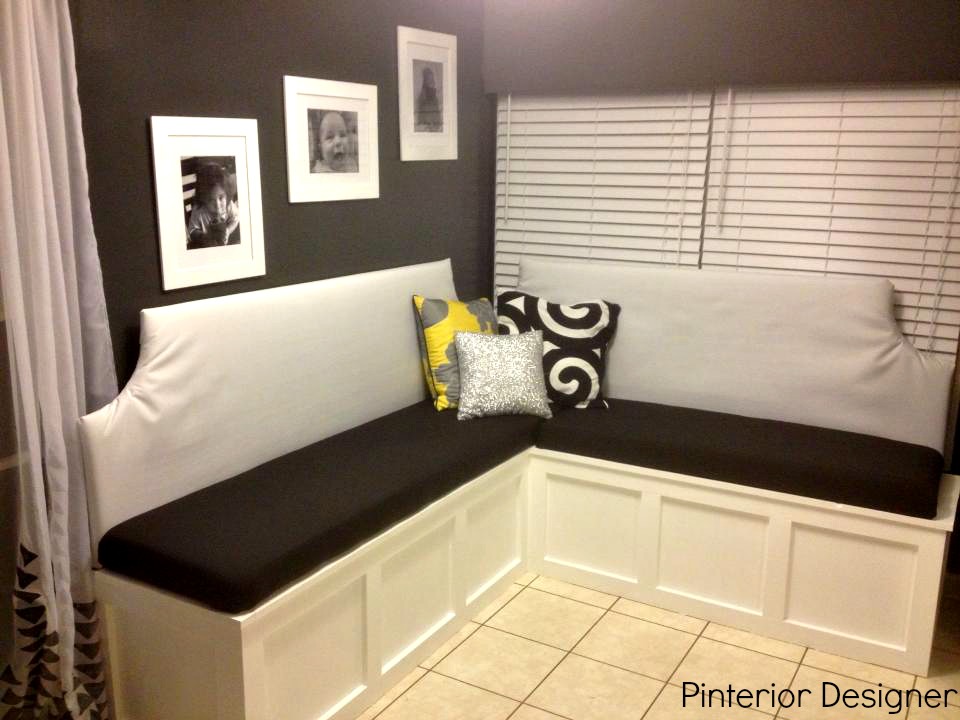
Stay tuned next week for a tutorial and tips on how to build your own banquette like the one Nate and I designed and built!
P.S. I’m linking up some of my recent posts at these blogs:
SNAP!
Made in a Day
Hi Sugarplum!
Posed Perfection
www.remodelaholic.
Six Sisters Stuff


Years ago I did try a new product that is still out there, (heaven forbid) that was supposed to make your counter look like granite. Ever the optimist I did kitchen counter, island and nearby powder room vanity all at the same time. GONG SHOW. All kinds of Lucy and Ethel (ask your mom) things happened without the beautiful results you got. Oy. Yours looks spectacular and the kitchen looks chic and modern. Good job, and thanks for following!
Thanks for the compliments! I saw the granite ones and I wanted to try it but they were so expensive! I actually bought granite chips like you would use on a garage floor but returned them. I was worried I was getting carried away and would just end up ruining it. Sometimes it’s good to just walk away.
You made the right choice!
Pingback: Great Ideas -- 24 Fall DIY Home Projects! -- Tatertots and Jello
This looks so great!!! I’ve been thinking about doing the countertop transformation kit but I think it’s a little pricy! Maybe I will go this route! Our laminate kitchen counters are in great condition but I dislike the color. I love the black you chose! I’m your newest follower!
You should definitely try it! It was super easy and it totally changed the look of our kitchen. I just checked out your blog and a dark countertop would look great with your white and gray cabinets. Thanks for following! I followed you on Bloglovin!
Leah, just wanted to let you know that I’m hosting a giveaway for the Rust-Oleum Countertop Coating this week. Use this link to enter: http://pinteriordesigner.com/2013/11/19/giveaway-rust-oleum-countertop-coating/
Wow, what a transformation. Looks so fresh and modern!
Thanks! Modern was the goal so that’s perfect!
SO happy to have found this post. I painted my cabinets gray and LOVE them. Currently have an already painted countertop and I am dying to paint them black like you. I’ve wanted the $22 kit, read some bad reviews, husband isn’t on board, but you’ve encouraged me to do it!!!!! Will be perfect while we wait two years to do the kitchen. Thank you!
Perfect! I’m so glad you’re going to try it! For the price, you can’t beat it. I think if you have to wait 2 years, you might as well look at something pretty! Good luck and let me know how it goes!
Ellen, just wanted to let you know that I’m hosting a giveaway for the Rust-Oleum Countertop Coating this week. Use this link to enter: http://pinteriordesigner.com/2013/11/19/giveaway-rust-oleum-countertop-coating/
They came out great, thanks for the tutorial, Im going to try this in my old blue counter tops.
Awesome! Good luck and let me know how it goes!
Fabiola, just wanted to let you know that I’m hosting a giveaway for the Rust-Oleum Countertop Coating this week. Use this link to enter: http://pinteriordesigner.com/2013/11/19/giveaway-rust-oleum-countertop-coating/
It looks great! I think I’m going to try this on my bathroom vanity. Like you they will be upgraded in the future but for now I can’t stand the faux granite laminate look.
You should go for it! My opinion was it can’t get any worse! If you decide to do it, let me know! Good luck!
Stephanie, just wanted to let you know that I’m hosting a giveaway for the Rust-Oleum Countertop Coating this week. Use this link to enter: http://pinteriordesigner.com/2013/11/19/giveaway-rust-oleum-countertop-coating/
Pingback: How to Keep Your Laminate Counters Off the Curb
saw your kitchen on Roadkill Rescue and popped over to investigate…looks amazing! We are looking to do something budget friendly with our counters, this might just be it!
You definitely should! 20 dollars well spent. Thanks for stopping by!
Cheryl, just wanted to let you know that I’m hosting a giveaway for the Rust-Oleum Countertop Coating this week. Use this link to enter: http://pinteriordesigner.com/2013/11/19/giveaway-rust-oleum-countertop-coating/
I love it – the black is so sleek & shiny! I’m getting ready to use the same kit on mine. Question for ya…your countertops looks like mine where there is a groove along the counter edge. Did you fill that in and if so, how? That’s really holding me up on mine because I’m going with white & don’t want a dark line showing there.
Thanks for the compliment! Do you mean where the counter meets the backsplash? I basically have a metal transition between the countertop and backsplash. I didn’t do anything to it since the silver didn’t bother me. Could you paint yours? Caulk and paint? I wish I could be more helpful. Sorry!
what kit did you purchase? Every kit I see with rustoleum is over $140-$240? I have been wanting to do this for years- but worried about the cost.
Hey Julie, I purchased this product: Rust-Oleum Countertop Coating. NOT the counterop transforation kit.
http://www.lowes.com/pd_18108-90-254853_0__?productId=3178781&Ntt=rustoleum&Ns=p_product_price|0&pl=1¤tURL=%3FNs%3Dp_product_price%7C0%26Ntt%3Drustoleum%26page%3D13&facetInfo=
It’s not the full kit with all the extra parts. All it has is the quart of the coating and that’s it. You need to buy the project supplies yourself (sand paper, foam roller, painters tape, tray, and drop clothes) but it’s wayyyyy cheaper than buying the whole kit. The more expensive kit comes with granite chips and a machine to distribute the granite on the countertops. It seems like a huge waste of money.
THANK YOU THANK YOU!! I will surely give this a try!!!!
Julie, just wanted to let you know that I’m hosting a giveaway for the Rust-Oleum Countertop Coating this week. Use this link to enter: http://pinteriordesigner.com/2013/11/19/giveaway-rust-oleum-countertop-coating/
I love this product and I just did my counters with it! Yours look much shinier than mine though, and I am wondering, did you coat them with anything afterwards?
Pingback: Build a Custom Banquette Corner Bench – DIY
Pingback: Build a Custom Banquette Corner Bench | Colorfull Home
Pingback: Build a Custom Banquette Corner Bench | Home Feature
Pingback: Construisez un banc d’angle de banquette personnalisé – Best Pins Portal